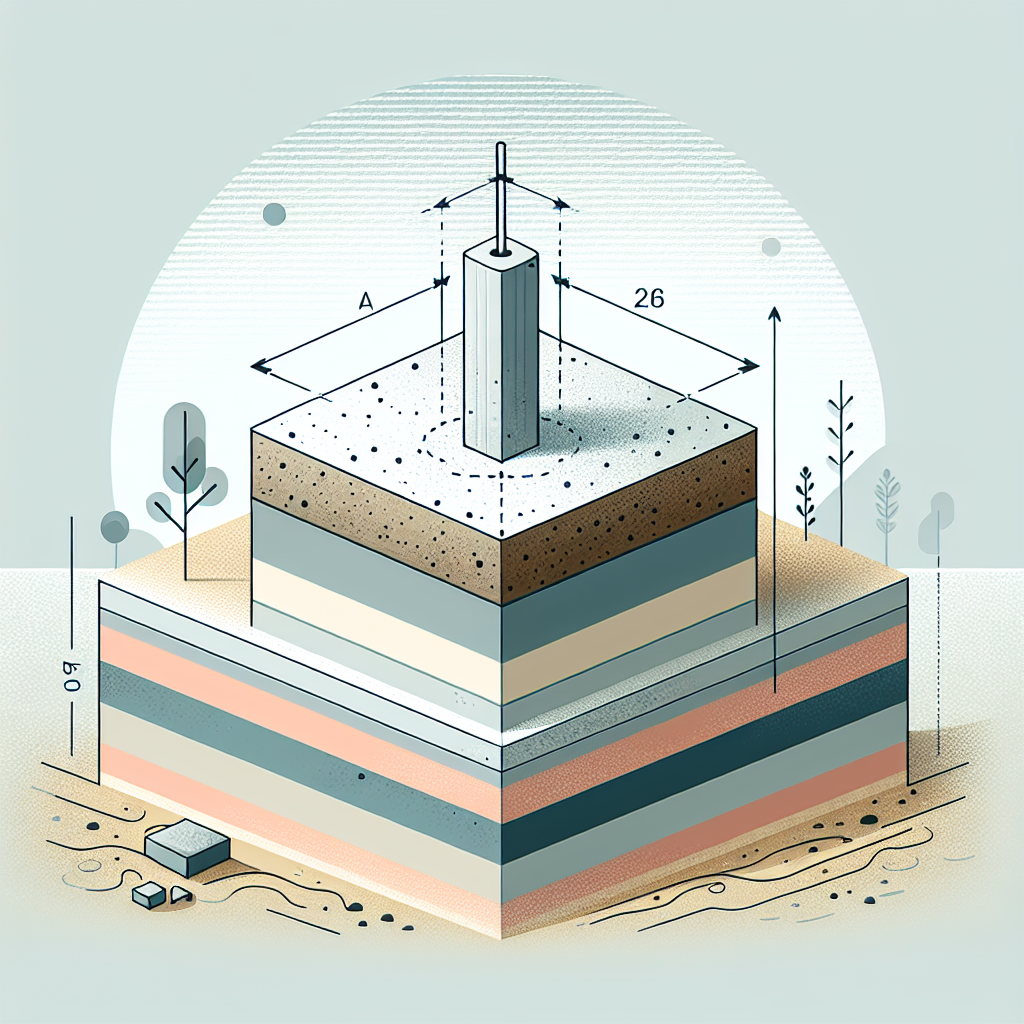
Getting the footing size right prevents settlement and keeps a building safe. This article explains the main factors you need and shows how to turn them into a reliable footing area and depth.
Read clear steps and examples that use simple formulas. No heavy theory — just practical methods you can follow when planning a footing for small to medium structures.
Basics of footings and why size matters
Footings carry loads from a structure into the soil. If the footing is too small, stresses on the ground exceed what the soil can handle. That causes uneven settlement or worse.
Size affects both the bearing pressure under the footing and the stability against tilting. A correctly sized footing spreads the load so the soil supports it safely.
What a footing does
A footing transfers vertical loads and moments from columns or walls into the ground. It also reduces local pressure by increasing area.
Footings must resist sliding and overturning in addition to bearing loads.
Common types of shallow footings
Shallow footings are used when good soil lies near the surface. Common types include isolated (pad) footings, strip footings under walls, and combined footings for closely spaced loads.
Choice depends on load layout, soil, and spacing between supports.
Key data you need before any calculation
You cannot size a footing without a clear set of inputs. Gather load figures and soil properties first.
Below are the essential items to collect and verify before starting calculations.
- Vertical loads at the support (dead + imposed/live + wind or other vertical components).
- Moment at the base of the column if present (in kN·m or kip·ft).
- Allowable soil bearing pressure (q_allow). Use a geotechnical report if possible; otherwise use conservative values from local codes.
- Depth to frost line and groundwater level.
- Required cover and reinforcement details from structural rules.
How to obtain soil bearing pressure
A geotechnical report gives the safest q_allow. If that’s not available, local building codes or tables offer typical values for common soils.
Never guess high. Pick a conservative number if uncertainty exists, and increase footing area accordingly.
Loads and how to combine them
Use factored loads when checking ultimate capacity. For working footing area, sum dead and live loads as applicable. Include eccentric loads and moments in area and dimension checks.
If lateral loads or uplift exist, add checks for stability separately.
Step-by-step calculation method
This section walks through a clear method to find footing area and dimensions. Start with vertical loads and soil capacity, then refine for moments and shear.
Keep each step simple: compute area, pick shape, check depth and shear, then adjust reinforcement and cover.
1. Compute required footing area
Use the basic relation: A = P / q_allow, where P is the net vertical load and q_allow is the allowable bearing pressure.
Example: If P = 200 kN and q_allow = 150 kN/m2, then A = 200 / 150 = 1.33 m2.
2. Choose a practical footing shape and dimensions
For an isolated column footing, square or circular shapes are common. Convert area to dimensions: if a square, side length = sqrt(A).
From the example, side = sqrt(1.33) = 1.15 m. Round up to a practical value that allows reinforcement placement, e.g., 1.2 m.
3. Account for eccentric load and moments
If the axial load is centered, area from step 1 is enough. If eccentric, compute the pressure distribution under the footing.
For an eccentricity e (in one direction), the effective bearing area reduces. If |e| < b/6 and |e| < l/6, pressure remains compressive. Otherwise, use trapezoidal pressure formulas or adjust dimensions to keep pressure positive.
4. Check depth for bending and shear
Estimate bending moments at critical sections from load and eccentricity. Use these to size depth and reinforcement per your structural rules.
Then check punching or shear near the column face. If shear is critical, increase depth or add shear reinforcement.
Practical checks and adjustments
After initial sizing, make a few practical checks to ensure durability and constructability. This step prevents surprises on site.
Important items include frost depth, drainage, reinforcement cover, and constructible dimensions.
Minimum depth and frost protection
Concrete depth must resist frost heave where temperatures freeze ground. Local codes set minimum depths by climate zone. If frost is deep, embed footing bottom below frost line or use insulation.
Also confirm clear cover for reinforcement to avoid corrosion and meet durability needs.
Shear and punching checks
For column footings, punching shear around the column is a common failure mode. Calculate the shear force inside a critical perimeter and compare with the concrete shear capacity.
If capacity is insufficient, increase thickness, add shear reinforcement, or enlarge the footing area.
Reinforcement layout tips
Place a top and bottom layer of main bars if needed for bending reversal. Use distribution bars perpendicular in both directions to control cracking.
Keep bar spacing practical: avoid very close spacing that complicates concrete placement.
Example calculation with numbers
Below is a compact worked example that ties the steps together. Numbers are simplified for clarity and learning.
Assume a column load and typical soil value to size a square footing.
Given data
- Column load, P = 300 kN (dead + live)
- Allowable bearing pressure, q_allow = 120 kN/m2
- Column width = 0.3 m (square column)
- No significant eccentricity
Calculation
Required area: A = P / q_allow = 300 / 120 = 2.5 m2.
Choose square footing side: side = sqrt(2.5) = 1.58 m. Round to 1.6 m to allow reinforcement cover.
Footing size = 1.6 m x 1.6 m. Area = 2.56 m2 which gives bearing pressure P / A = 300 / 2.56 = 117 kN/m2 (within q_allow).
Next, estimate depth. Assume required moment capacity yields a depth of 0.3 m. Check punching shear around the column: compute shear force and compare to concrete capacity. If okay, finalize depth and reinforcement.
Common mistakes and how to avoid them
Many sizing errors come from poor input data or skipped checks. Avoid those to keep designs safe and cost-effective.
Simple verification steps catch most issues early.
Relying on assumed soil values
Using overly optimistic soil pressure makes footings too small. If in doubt, assume a lower q_allow and increase area or get a geotechnical test.
Small extra area costs less than fixing settlement later.
Ignoring moments and eccentricity
Even small eccentricities change pressure distribution. Check for moments from lateral loads or column offset to avoid edge tension or uplift on one side.
When eccentricity is present, consider increasing footing width along that direction or use combined footings.
Choosing impractical dimensions
Dimensions should allow placing reinforcement and compacting concrete. Avoid slender shapes that complicate forming and pouring.
Round up sizes to nearest 50 mm or 100 mm as is common in practice.
Conclusion
Sizing a footing begins with clear input: accurate load values and reliable soil capacity. From there, compute area, choose dimensions, and check depth, shear, and reinforcement.
Simple formulas and conservative assumptions lead to safe, economical footings. When in doubt, get soil data or consult a structural specialist for complex loads.
Frequently Asked Questions
Below are short answers to common questions that come up during footing sizing. These focus on practical points and common exceptions.
How do I convert loads to the area needed?
Divide the net vertical load by the allowable soil pressure: A = P / q_allow. Choose a practical shape and adjust for eccentricity if present.
What if my soil report gives a range of values?
Use the lower end for design unless you can prove better ground conditions at the footing location. Conservative choice improves safety.
When must I check punching shear?
Always check punching shear for column footings. Compute shear inside a critical perimeter at a distance from the column face and compare with concrete shear capacity.
Can I reduce footing size with stronger concrete?
Stronger concrete helps bending and shear but does not increase soil bearing capacity. To reduce area, you need a higher allowable bearing pressure from soil improvement or deeper foundations.
Is a thicker footing better than a larger one?
Thickness increases bending and shear capacity but does not spread load as much as area. Use thickness mainly to meet structural demands; increase area to reduce bearing pressure.