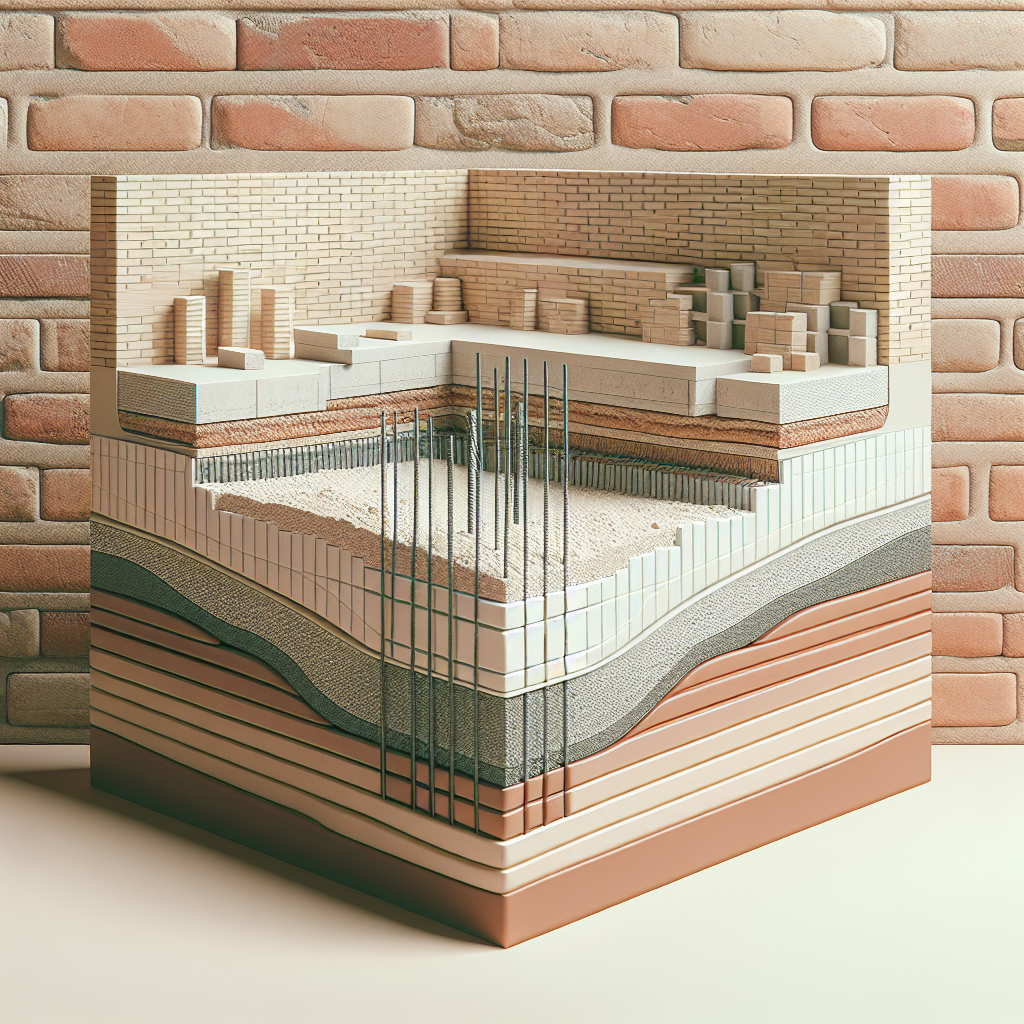
The starting point for a stable low-rise building is often a continuous shallow footing that supports load-bearing walls. Knowing the right dimensions, materials, and methods helps prevent settlement and cracking.
This article breaks down essential technical points, site checks, and common fixes to help you plan and inspect a reliable continuous footing system. Details focus on practical steps and what affects performance on typical soils.
How this footing type works and when it fits
A continuous shallow footing runs under load-bearing walls, spreading weight over a strip of soil rather than isolated pads. It suits evenly loaded, linear walls on relatively stable ground.
These footings are economical for single- and two-storey buildings, retaining consistent bearing contact with the ground and limiting differential settlement when sized correctly.
Key terms to know
Bearing capacity is the soil’s ability to carry loads without excessive settlement. Strip width is set by load and soil strength. Effective depth includes cover and reinforcement position.
When to use an alternative
Choose deeper or isolated footings if soil is weak, loads are highly concentrated, or groundwater and frost require deeper foundations.
Basic sizing: width, depth, and soil checks
Sizing starts with two facts: the imposed wall load per metre and the allowable ground bearing pressure. Width is the main control for spreading the load.
Depth governs bending and shear capacity, and also places reinforcement below the neutral axis to resist tensile forces.
Calculating strip width
Width = (wall load per metre) / (soil allowable bearing pressure). Allow a safety margin; use conservative soil values when tests are limited.
For example, a 50 kN/m wall on soil rated at 150 kN/m2 needs about 0.34 m width; round up to practical widths like 400 mm to account for construction tolerance and load growth.
Depth and frost considerations
Depth must exceed minimum cover and provide sufficient section to resist bending. In cold climates, place the bottom below frost depth to avoid heave and loss of bearing.
Typical depths for small houses range from 300 mm to 600 mm, but follow local codes and structural calculations when higher loads or poor soils are present.
Soil investigation essentials
Take at least one bore or trial pit where the footing will run. Check for soft layers, organic matter, peat, or loose fills that reduce bearing capacity.
If tests show variable conditions along the wall, design for the weakest section or improve the ground with compaction, replacement, or ground beams.
Reinforcement layout and concrete choices
Reinforcement resists tension from bending and controls crack widths. A simple longitudinal bar with minimum transverse ties is common in short spans.
Select concrete strength and cover to protect the steel from corrosion and provide required durability in the service environment.
Typical reinforcement patterns
- Two or three longitudinal bars in the bottom of the strip to resist bending.
- Stirrups or lateral ties to hold bars in position and resist shear, spaced per design.
- Lap or mechanical couplers where bars need to be joined; follow code lap lengths.
Concrete mix and cover
Use a concrete grade suited to exposure and structural demand, commonly around C20/25 for low-rise residential footing. Maintain cover usually 50 mm or as per local standard when in contact with ground.
Ensure proper consolidation during pouring to avoid voids beneath reinforcement that can lead to localized failure.
Step-by-step construction and on-site checks
Good construction practice minimizes mistakes that lead to uneven settlement and cracking. Keep work staged and documented.
Below are the core stages and the most important field checks that protect long-term performance.
Excavation and bedding
Excavate to firm soil; if the subgrade is soft, dig deeper and replace with compacted granular fill. Achieve a uniform bearing surface along the length of the strip.
Compact any bedding material and ensure levels match design gradients. A poorly compacted pad invites future movement.
Formwork, placement, and vibration
Set formwork straight and level. Use spacers to hold reinforcement at the correct cover height. Pour concrete continuously where possible to avoid cold joints.
Compact concrete with an internal vibrator on each lift. Avoid over-vibration that segregates the mix; aim for a consolidated, homogenous mass.
Curing, backfill, and protection
Keep the concrete moist for several days to develop strength and reduce cracking. Protect freshly poured strips from rapid drying, rain, and temperature extremes.
Backfill carefully in layers, compacting to prevent voids beside the footing. Maintain drainage away from the foundation to avoid long-term saturation.
Common defects, diagnosis, and repair approaches
Even well-designed footings can face issues from unexpected soil changes or construction errors. Early detection reduces repair costs.
Look for signs like uneven settlement, diagonal cracking in walls, or gaps at junctions to pinpoint where the footing has lost support or cracked.
Settlement and uneven support
If one part of the strip settles more, internal stresses transfer to the superstructure. Injected grouts, underpinning, or replacing weak soil sections can restore support depending on severity.
Monitor movement with simple markers or levels before choosing a repair; some minor settlements stabilize and need only cosmetic fixes.
Cracks and water-related damage
Small shrinkage cracks are common and often not structural. Wider cracks, especially diagonal ones in walls, indicate differential movement and warrant investigation.
Address water management first: regrade ground, add French drains or guttering. For structural cracks, stitching with reinforcement or localized underpinning may be required.
Practical checklist before signing off
Use a concise checklist to ensure each critical step is complete. This avoids missing items that later cause performance issues.
Key checks below cover site, material, and workmanship aspects that influence long-term behavior.
Site and material checks
- Confirm soil report values and that excavation reached required strata.
- Verify reinforcement sizes and spacing match the design drawings.
- Ensure concrete batch tickets and slump tests are on record.
Workmanship and documentation
- Form alignment and levels checked prior to pour.
- Reinforcement chairs and cover spacers in place and secured.
- Curing log kept and any deviations recorded for later review.
Conclusion
Continuous shallow footings offer a reliable, cost-effective foundation when matched to soil and load conditions. Proper sizing, reinforcement, and site practices control settlement and cracking risks.
Prioritize a modest soil investigation, accurate concrete placement, and drainage around the foundation. These practical steps keep buildings stable and reduce long-term maintenance.
Frequently Asked Questions
What is the minimum width typically used?
Minimum widths often start around 300–400 mm for light load-bearing walls on reasonably strong soil. Exact width depends on load and allowable soil pressure.
How deep must the bottom be below ground?
Depth should respect minimum concrete cover, reinforcement needs, and frost depth where applicable. For many climates, depths of 300–600 mm are common, but local codes and frost lines apply.
Can this footing be used on sloping sites?
Yes, but design must account for stepped footings, retaining action of walls, and lateral earth pressures. Drainage and soil stability become more critical on slopes.
When is ground improvement required?
Improve the ground if you encounter peat, organic soils, high compressibility, or variable fills. Methods include replacement, compaction, stone columns, or geotextile reinforcement depending on severity.
How to protect the footing from water and frost?
Provide surface drainage, gutters, and adequate subsoil drainage. In frost-prone areas, embed the base below the frost line or use insulation and drainage to manage freeze-thaw effects.